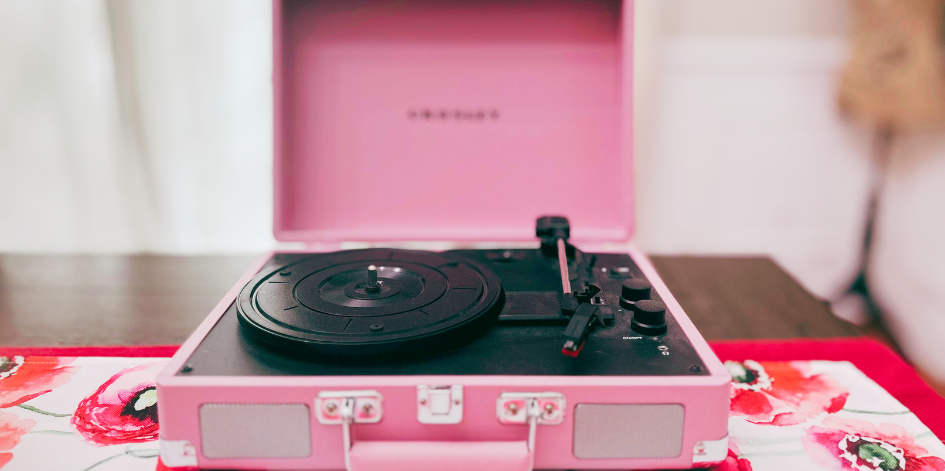
It all started with a pink record player. A delicate, retro pink box that arrived as a Christmas gift, purchased by yours truly, sparking a whole lot of inspiration—and a bit of chaos, as I found myself tearing closet racks off the wall on New Year’s Eve.
While I was thrilled to receive it, there was one minor issue: I had no place to put it where I could enjoy it daily. This charming little player was too special for just any shelf. So, I set out to find a spot in my home where it could truly shine. That’s when I stumbled upon my cluttered office closet—stuffed with forgotten clothes and homeschool materials from 2020.
It was a mess, no doubt, but as soon as I opened that door, I saw potential. What if this closet could be more than just a storage space? What if it could become a cozy retreat to showcase my growing record collection and beloved books?
It wasn’t just about organizing—it was about crafting a sanctuary, a space that felt like the cozy, beautiful room my Mimi used to have. It was my very own “pretty room”—a place where practicality met warmth, where I could lose myself in the soothing scratching sound of vinyl and the pages of my favorite books.
So, with a dash of creativity and a lot of elbow grease, I turned that cluttered closet into a lovely, functional nook that is more than just a room. It’s a piece of nostalgia, filled with charm and personality—the perfect home for my record player.
If you’re ready to transform a cluttered space into one you truly love, keep reading to see how to create your own cozy sanctuary—let’s get started!
Step 1: Declutter & Clear the Space

How It Started…
The first step is always the hardest. A messy closet may seem overwhelming initially, but just like we do with old things in our lives, we have to make room for what truly matters. Start by clearing out everything that’s been hiding behind those doors. The boxes you haven’t touched in years? Out. The coats that never see the light of day? Time to let them go.
Clearing the clutter opens up a world of possibilities. You’ll be surprised at how much space you have once you’re not distracted by things that no longer serve you. And now, with a clean slate, you can start creating.
Step 2: Embrace the Character of the Space
A tiny closet doesn’t have to feel cramped or cold. I craved warmth with a touch of whimsy. My goal was clear: I wanted the space to serve a purpose—housing bookshelves and showcasing all my favorite nostalgic pieces collected over the years. It needed a fresh coat of paint, but beyond that, I envisioned adding vintage elements—like wood paneling, unique peel-and-stick wallpaper, or a striking piece of thrifted art to take center stage.
Step 3: Add Floating Shelves for Storage and Style
Now for the fun part—bookshelves! Floating shelves are the perfect solution if you don’t have room for traditional, bulky bookshelves. They take up less space and give the room a clean look while offering plenty of room for your favorite books to remain on display.
When you arrange your shelves, think of them as a personal story. Stack your books in an inviting way—some horizontal, some vertical, with a few thoughtful knick-knacks scattered in between. Whether it’s a vintage photo frame, a collection of snow globes, or a well-loved family heirloom, these items add personality to the space and make it yours.
Step 4: A Chair for Reading and Reflection
No library is complete without a spot to sit and read. If you have the space, look for an inviting and functional chair. A soft armchair, perhaps in a vintage fabric, can bring comfort and nostalgia to the space. Add a throw blanket or two for extra warmth, and you have a reading nook that makes you want to curl up and get lost in a good book for hours. The beauty of a small space like this is that it doesn’t take much to create the perfect atmosphere. Every piece should have a purpose and, more importantly, make you feel something.
Step 5: Use What You Have
You don’t have to spend much money to create this space. I repurposed an old entertainment center gathering dust in my garage and a bookshelf from the basement. A fresh coat of paint covered up some scratches on the wall, and it all cost me very little. Shop your home first—it’s amazing how creativity can breathe new life into what you already have.

The Finished Project
Step 6: Personal Touches and Finishing Details
Now that the major pieces are in place, it’s time to add those little touches that make the space feel truly personal. A well-worn rug on the floor, a beloved antique, or a framed quote that speaks to your heart—these details give the space its charm. These small elements help tell a story—your story. Whether it’s a vintage typewriter, an old photograph, or a cherished memento, these items infuse the space with meaning and memories.
In Closing: Turning Clutter Into Comfort
Creating this cozy nook was more than just a project—it was a reminder that any space can be transformed into something truly special with a bit of vision.
I’d love to hear from you—have you ever transformed a cluttered space into something special? What was your favorite part of the process?

